Wondering how to migrate WooCommerce to Shopify? Well, you’ve come to the right place!
This guide will not give you a headache, you can easily migrate WooCommerce to Shopify store by following these steps.
This total migration process can be done with the help of a Shopify migration app. While you can use any app you want like “Matrixiy” or “Store Importer”, here we are using the app called “Cart2Cart Store Migration App”. It is free to install and the charges are calculated based on your store’s size. Therefore, it allows you to start migration quickly.
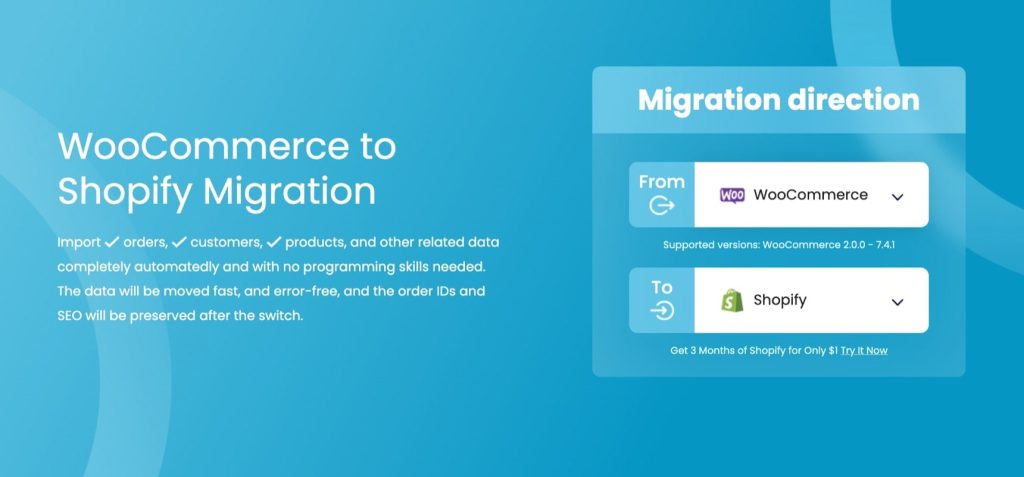
So, without further ado, let’s walk through the step-by-step process of migrating your WooCommerce store to Shopify.
Table of Contents
Migrate WooCommerce to Shopify using Cart2Cart Store Migration App
Step 1: Setup Source and Target Cart
Your first step would be to obtain admin credentials for your WooCommerce store and your new Shopify store.
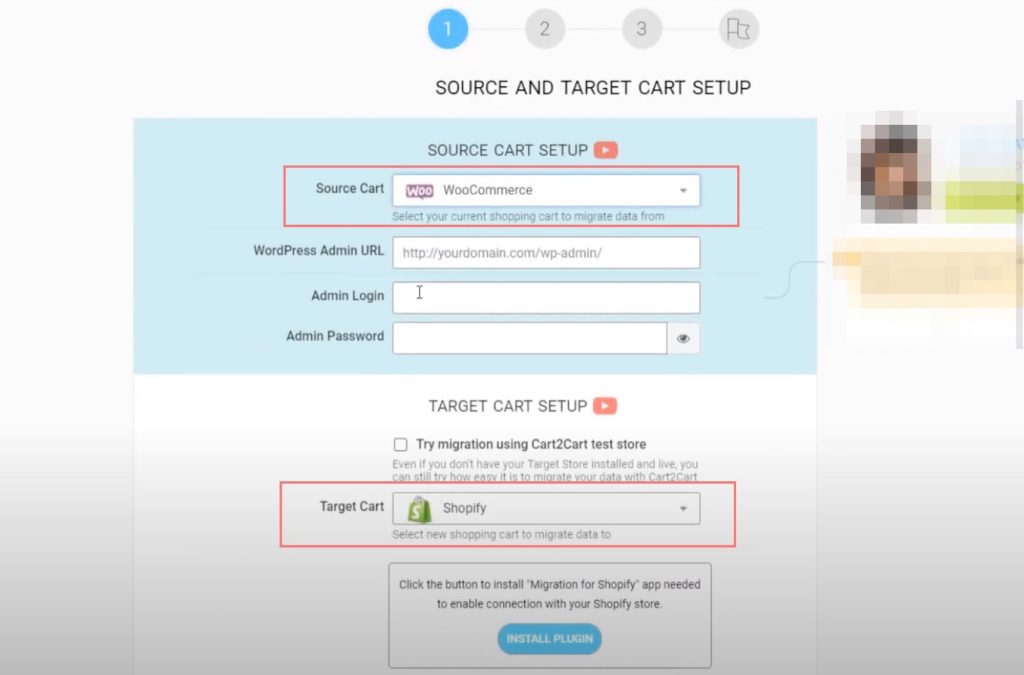
Then, click on Install Plugin to add the necessary Shopify migration app.

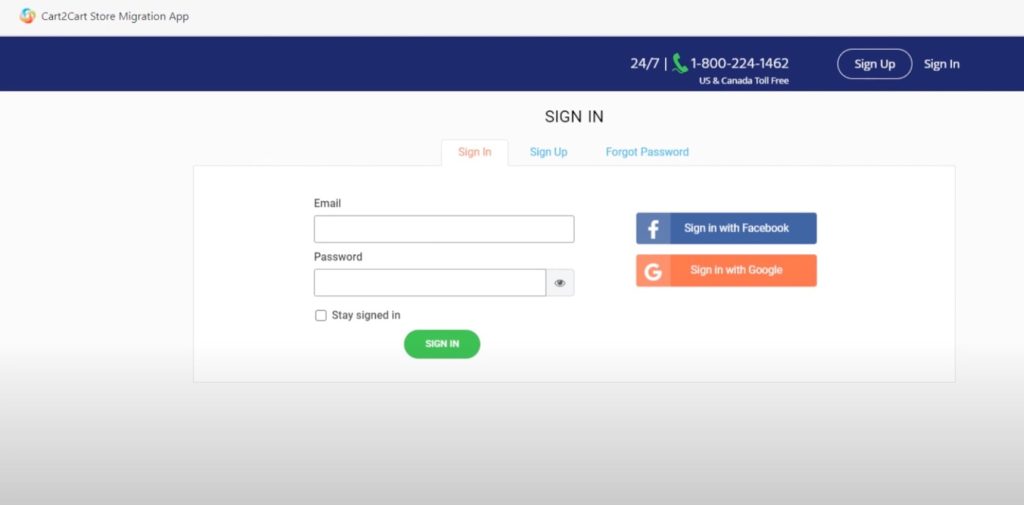
From your Shopify admin screen, please log in to shopping-cart-migration.com if you’ve already had an account, or sign in with Google/Facebook if you haven’t.
Step 2: Select Entities for Migration
With Cart2Cart Store Migration App, you can transfer all your WooCommerce photos found in your products, WooCommerce theme, or descriptions to Shopify, so that all images, even those seen in the descriptions, are housed there.
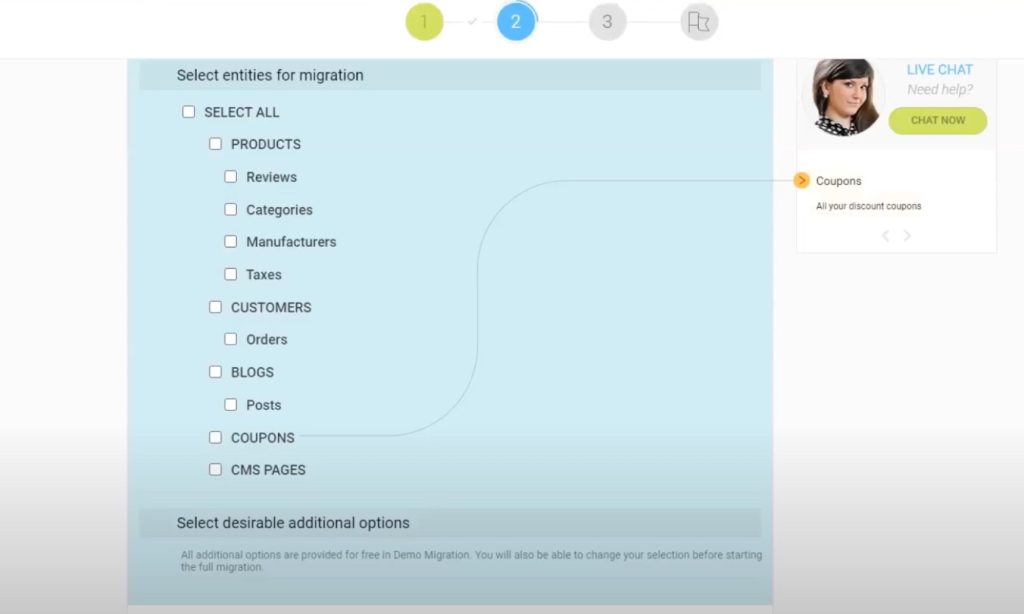
Your ecommerce shop‘s basic information might include:
- Name, SKU, Full Description, Status, Vendor.
- Price.
- URL, Meta Title, Meta Description.
- Weight.
- Product Tags.
- Variants (SKU, Weight, Attribute options).
- Base Image, Additional Images.
- Quantity, Manage Stock.
Additionally, you can also select extra behaviors and import them to Shopify.
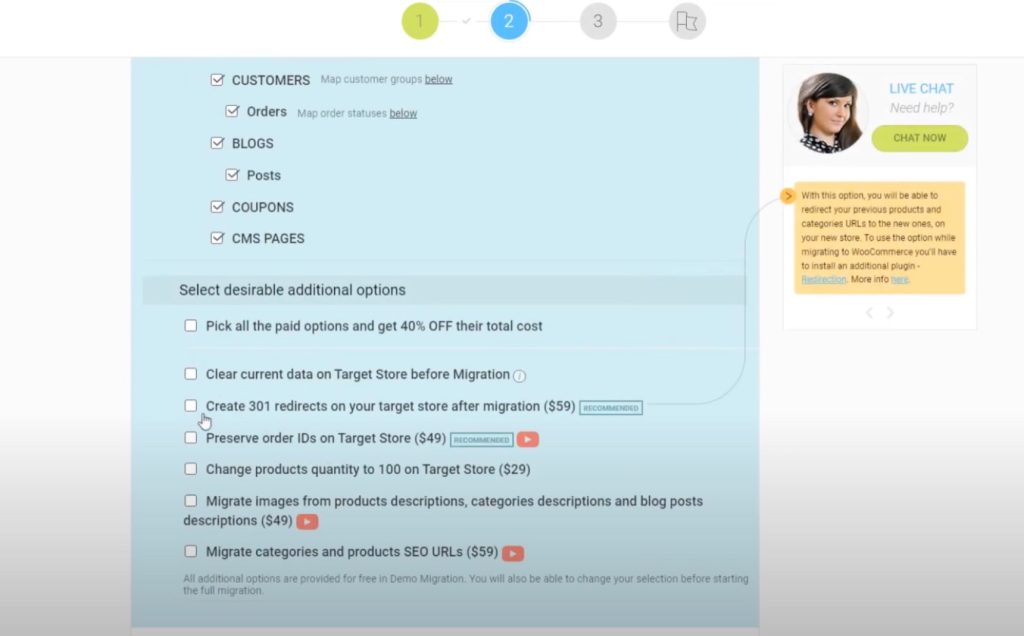
Then, click Start migrating to transfer those selected data.
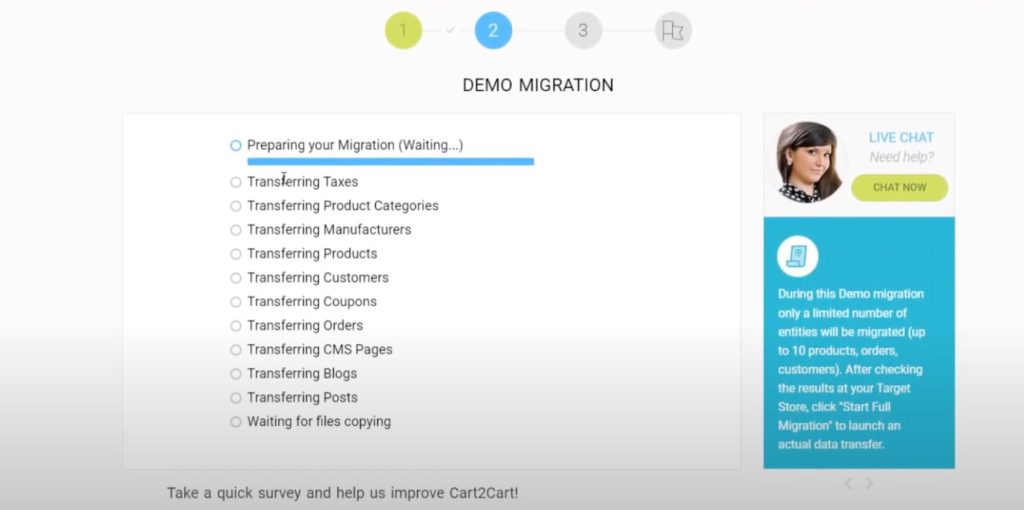
Step 3: Review Import Assets, Entities, and Additional Options
In this step, you will check if your source or target carts were correctly installed.
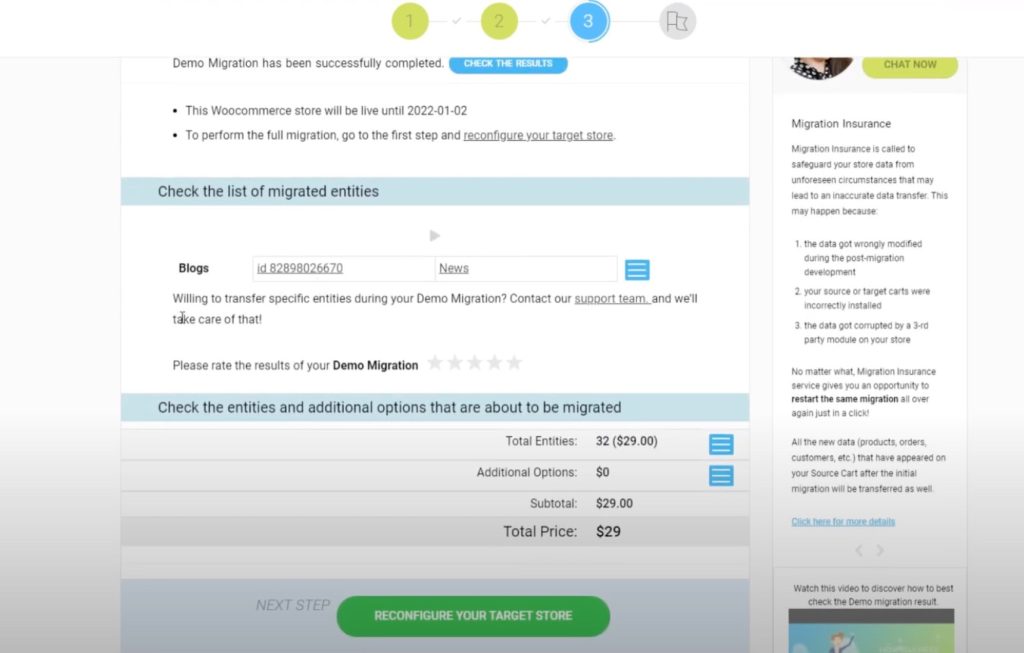
If all things go well, you will now see the whole WooCommerce product data in your new Shopify store.
In case you got an inaccurate data transfer, including products, orders,
customers, etc., you can reach out to the Cart2Cart migration service for help.
Moreover, if you want to transfer third-party data like product reviews, you have to previously install a Shopify product reviews app. Then, you will be able to download the Reviews CSV file on “Migration Details Information” page and import it to the Shopify store.
Migrate from WooCommerce to Shopify using Matrixify
Step 1: Export Data from WooCommerce
This is the first step of your migration process.
Before you do anything else, make a backup of all your WooCommerce store’s data.
Now, you can export your data.
Once your export is done, your PC will then download an XML file with your WooCommerce data that you’ll import to Shopify.
To do that, here are some of the steps to consider:
Steps:
- Go to the admin panel of your WooCommerce.
Tools > Export
- Select all the content.
- And then click download Export file.
Step 2: Import Your Data into Shopify
It’s time to import your WooCommerce data to Shopify.
Steps:
- Head to your Shopify admin panel. Click on Apps > Store Importer.
- Select WooCommerce from the drop-down menu on the Import your data into Shopify page.
Now go to the Add file option and select your exported files from the Upload files list. You have the option of choosing any number of CSV files.
Furthermore, when importing products, you must include the exported files for both the Default and Bulk Edit templates to load the data successfully.
- Choose your downloaded WooCommerce XML file.
- Now click on Continue import > Import.
Step 3: Review and Update The Data You’ve Imported
Your work isn’t done once your data has been successfully imported.
How would you know that your product and customer data are available?
You need to check in your Shopify admin panel that your data import was successful or not.
Go through your data and make sure that none of them has failed to import. And suppose if something went wrong, you could manually add them.
Migrate WooCommerce to Shopify – Known Issues
Below are some of the behaviors that you might see while importing your data into Shopify:
Importing Products or Customers Failed
As we mentioned in the above point, you can always add manually your products or customers if they didn’t import properly.
During the import process, customers with the same email address or phone number are skipped.
Successful Import
Once your import is complete, you can review your import summary using the report generated by the import summary page.
You can also look for any errors in the import summary’s messages in the review section.
By selecting View items next to these messages, you can manually change your imported information.
Imported But Unpublished Products
If any of your WooCommerce products had their product visibility set to hidden when you export your data, those products will also be hidden in Shopify.
Making your products available to a sales channel is one way to make them available.
Digital Products Imported But Not Published
Many times it happens that you import the digital products successfully, but unfortunately they do not publish.
And when this happens to you, you must have an app to sell digital products.
To make your products available in your store, you can install the Digital Downloads app.
Product Variants Failed to Import
If an option is missing from one of your product’s versions, the product will not be imported. This item must be added to Shopify manually.
Consider the case where you sell T-shirts with various size and color options.
If one of your variants has size but not color information, your product will not be imported.
Import Data to an Existing Import
It’s never too late to fix things. You can still import your store data on top of your current import if you missed something in your prior import.
All you have to do is just click on Start new import.
- Customers are updated if they already exist in your Shopify store or a previous import.
Customers are matched first by email address, then by phone number if the email address does not match.
And if a match is found, the existing record is updated in the following way:
- The statuses of tax-exempt and marketing subscription are overwritten.
- Tags, addresses, and notes from the import are added.
- If the first name, last name, or phone number fields in the existing customer record are blank, they are filled in with the information from the imported customer record.
- If a product is already on your Shopify store, the import skips the matching products and does not import them.
After the import is finished, the Import summary displays a list of the products that were skipped.
How to Delete a Store Data Import
Deleting a stored data is a simple task.
You can delete a data import if you are unhappy with it.
If your data import has a lot of unsuccessful items, for example, you might want to erase it and try again.
However, you can only get rid of the most recent import. Before starting another import, wait for the data to be completely erased.
Below are the steps for deleting an import file are as follows:
- On the Import complete page, click Delete import.
- Click Delete import in the Delete import dialog.
To start a new import, click Start fresh import after you’ve deleted all of your imported files.
Last Words On Migrating From WooCommerce To Shopify
That was the complete guide on how you can migrate your WooCommerce store to Shopify in several methods.
You can migrate your product and customer data from WooCommerce to Shopify using the store importer app.
The only one thing that you can’t migrate is the customer’s passwords.
Because passwords are encrypted, you can’t migrate customer passwords from another platform to Shopify.
As a result, only customer records are migrated to Shopify instead of customer accounts.
Aside from that, everything can be taken to Shopify. We hope you got your solution from this guide.
